I spent the entire day today modifying the standalone harness to be right for this application..
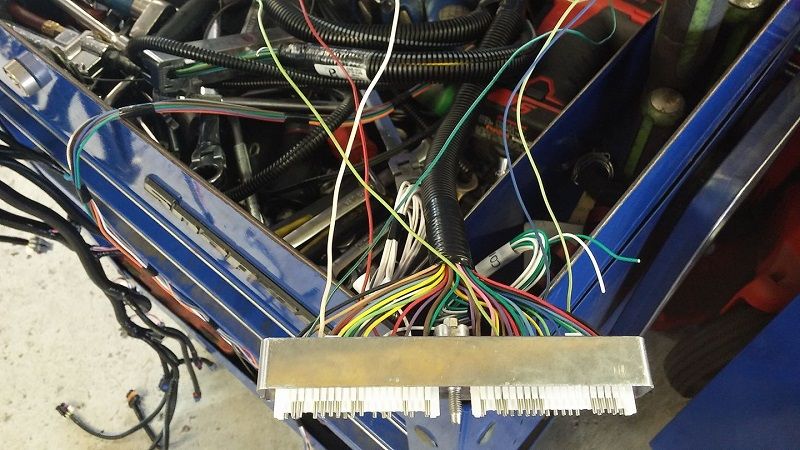
The standalone harness just comes with the minimum mandatory to get the engine running. For all the features that this car had we need to add a bunch of circuits to the pcm connectors, and spend time with a shop database(shopkey pro) sifting through diagrams for both a 1996 impala ss and also a 2000 Camaro z28. There is a factory anti theft system that we would like to keep in tact. There is cruise control that we would like to keep. We really want the ecu to control the a/c compressor because this way we can have it cut out the a/c compressor at wide open throttle and also so we can drive the fans off of a/c state and pressures. This requires a fistful of circuits on its own as there are 2 wires for ac request and control but also 3 wires for a/c pressure transducer. For the fuel tank emissions to be correct we are adding a fuel tank vent solenoid and pressure sensor so the 0411 pcm can drive the purge solenoid correctly and watch them fuel tank pressures. And we are trying desperately to find a way to make the uart communicating abs module work with the class 2 communicating pcm. This might well end in a ebcm conversion to keep anti lock brakes with this conversion.


 Reply With Quote


